 Calculate
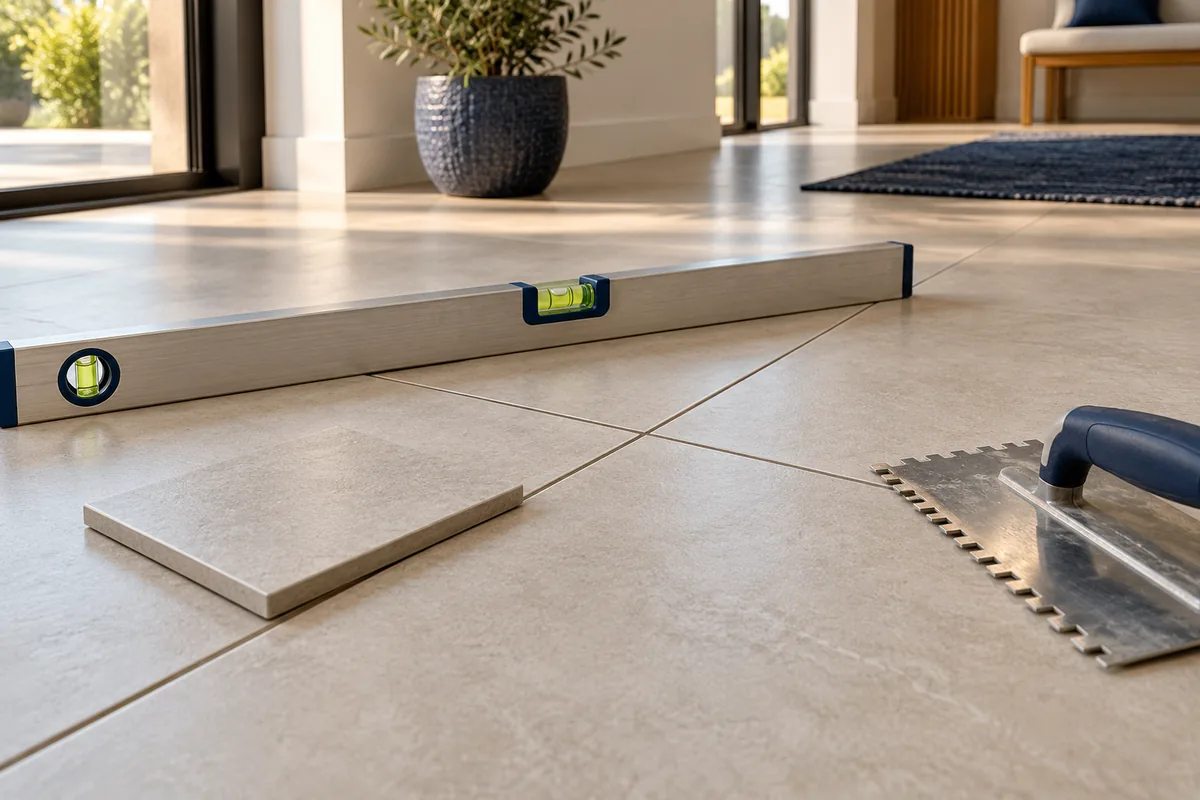
Bad tile installation can look acceptable from the doorway and still cause problems when you walk across it, clean it or use the shower. Before accepting a finished floor, compare the work with the approved sample and look at the installation as a system: tiles, adhesive, substrate, waterproofing and joints. This guide gives homeowners a practical way to record concerns without pretending that a photograph or a tapping test can diagnose every defect. It also explains how to estimate a replacement area using Calculate Simply tools. The checklist is for planning a professional inspection; acceptance limits and repair methods must follow the agreed specification and applicable installation system.
Start with the documents and sample
Ask for the tile identification, adhesive and grout details, waterproofing system where required, and the approved layout or sample panel. Record room names and dates. A complaint such as “the floor looks wrong” is difficult to investigate; a note saying “the joint changes direction beside the bathroom door” is easier to locate and discuss. Look under ordinary room lighting and from normal viewing positions. A portable light may help document a concern but should not silently replace the agreed inspection method.
Check raised edges without inventing a tolerance
Lippage is the difference in height between neighbouring tile edges. Run a visual check along the joints and record edges that catch a foot, cleaning tool or furniture. Do not announce a universal acceptable number without identifying tile type, tile warpage, joint width and the applicable standard. A sloping wet-room floor and a poorly aligned tile edge are different issues. If a specialist measures a defect, retain the measured location and the agreed criterion beside the result.
Inspect joint lines, corners and cut pieces
Compare the joint spacing and layout with the approved sample. Look for drifting lines, unsupported-looking small cuts, chipped exposed edges and inconsistent treatment at thresholds. Some tiles intentionally vary in colour or texture; compare the product specification before calling this defective work. Agree where cut edges should be concealed or finished. Grout should be reviewed after the relevant curing and cleaning stages, not while the surface is still being worked on.
Treat hollow sounds as evidence, not a diagnosis
The Tile Council of North America explains that a hollow sound does not by itself prove a tile is loose. Mark the position and record whether there is visible movement, cracking or another symptom. Ask a qualified inspector to assess the installation method and supporting layers. Do not repeatedly strike the surface or inject a repair product simply to change the sound. A repair needs to address an identified problem rather than only making the inspection noise disappear.
Review drainage and waterproofing records
In a shower or other wet area, check the intended drainage direction with the project team before conducting a test. Do not flood an unfinished or unprotected room. Record puddling, leaks and where water appears; the point where water becomes visible may not identify its source. The waterproofing details beneath the tiles matter. Grout appearance alone cannot verify the condition of a concealed membrane. Review the specified system, installation records and any approved testing procedure before accepting a repair proposal.
Check movement details and curing instructions
Ask how movement joints were detailed and installed, including relevant changes of plane and boundaries. CTEF identifies movement accommodation as part of a quality installation. A joint designed to remain flexible should not be changed casually into a rigid grout joint. Ask the installer to explain any proposed alteration. Also confirm the manufacturer’s waiting periods before traffic, cleaning or exposure to water; one fixed waiting time does not apply to every product and site condition.
Measure a repair area before ordering tiles
Create a simple plan with each repair zone marked. For a rectangular zone, area equals length multiplied by width. An illustrative 10 ft by 8 ft floor is 80 sq ft; an assumed 10% purchasing allowance gives 88 sq ft. The allowance is an example, not a rule for every layout. Replacement stock may need to match the existing batch and finish, and local repairs can disturb adjacent tiles. Confirm the repair boundary before ordering. Room tile coverage estimator →
Estimate bedding materials separately from the number of tiles. A mortar calculation does not select an adhesive, establish bond coverage or prove that the substrate is suitable. Where preparation work is required, discuss the corrected substrate before choosing the final finish. Floor tile mortar calculator → Wall plaster calculator →
Write a snag list that leads to a repair decision
For each concern, record the room, marked location, photograph, symptom and specification to be checked. Ask for a proposed cause, repair scope, protection of adjoining work and a follow-up inspection. Regrouting a crack may improve its appearance while leaving the reason for movement unresolved. Avoid destructive opening-up without agreeing responsibility, services protection and how the exposed area will be made safe. Retain the original records when a defect is repaired so the follow-up can be compared fairly.
Frequently asked questions
Does every hollow-sounding tile need removal?
No. Sound alone is insufficient; the installation system and other symptoms need assessment.
Is uneven tile always a drainage problem?
No. Designed floor slope, tile-edge height and local surface irregularity are separate checks.
Can new grout repair a loose tile?
Grout is not a general substitute for a correctly bonded and supported installation. Establish the cause before specifying repairs.
Can the calculator tell me which tiles are defective?
No. It estimates entered areas and materials; it does not inspect workmanship or diagnose hidden defects.
Plan the next step
Start with a marked snag list and the original specification. Use the calculators to check areas and quantities, then agree an evidence-based inspection and repair scope with the responsible professional.
Sources and review notes
Original guide reviewed 20 October 2026. Examples are illustrative. Agree project-specific specifications and seek on-site assessment for defects. The sources provide background, not endorsement.